 by Jane Street

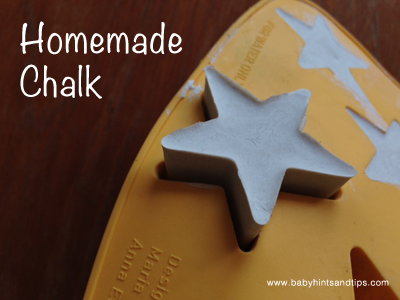
Making your own chalk is surprisingly easy and lots of fun. Pick up some cheap novelty ice cube trays or chocolate moulds to make fun shapes – look out for Christmas, Easter or Halloween trays to make seasonal themed chalks. Try packaging your chalk in a smart box to make an impressive homemade gift or birthday party favour.
You will need:
Plaster of Paris (I bought mine in a discount craft shop)
Disposable tub
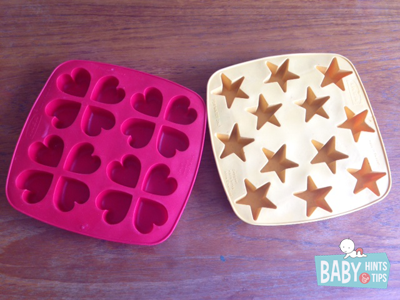
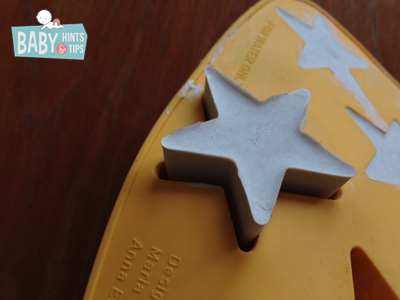
Ice cube tray or chocolate mould (I used a star shape ice cube tray from IKEA which cost less than $1).
Method:
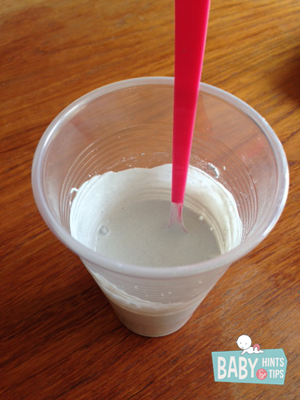
Step1: Mix the plaster of Paris in a disposable container according to the pack instructions. I used 2 parts plaster to 1 part water. Stir well.
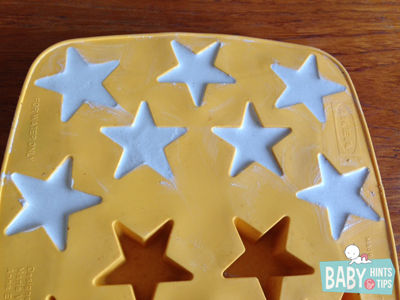
Step 2: Pour the plaster into the ice cube tray or chocolate mould.
Step 3: Tap the tray to release any bubbles.
Step 4: Throw out the disposable tub with any plaster remnants rather than washing down the sink as the plaster could harden in the pipework.
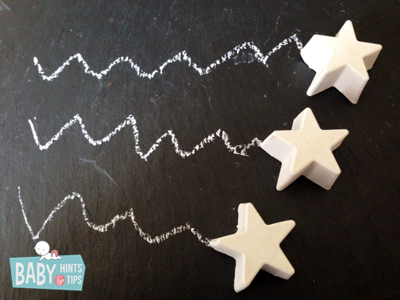
Step 5: Allow to set for several hours then pop out of the mould. Allow the pieces to dry out for 24-48 hours.
Your homemade chalks are now ready to use.
If you want to make coloured chalk, try mixing a few spoonfuls of coloured tempera (poster) paint powder into the dry plaster of Paris powder at the beginning before you add water.
About Jane Street: As Editor at MyKidCraft.com and mum of two young kids, I’m always getting stuck into fun creative projects – and usually making a lot of mess in the process. You can view all her articles here.


